
How to Make a Freezer Paper Stencil with Cricut
Learn how to create a happy camper t-shirt with freezer paper, fabric paint, and Cricut. Use the Cricut to cut a stencil in this tutorial. If you make a purchase using any affiliate links below, we may earn a commission.
Are you tired of wearing boring and uninspiring T-shirts?
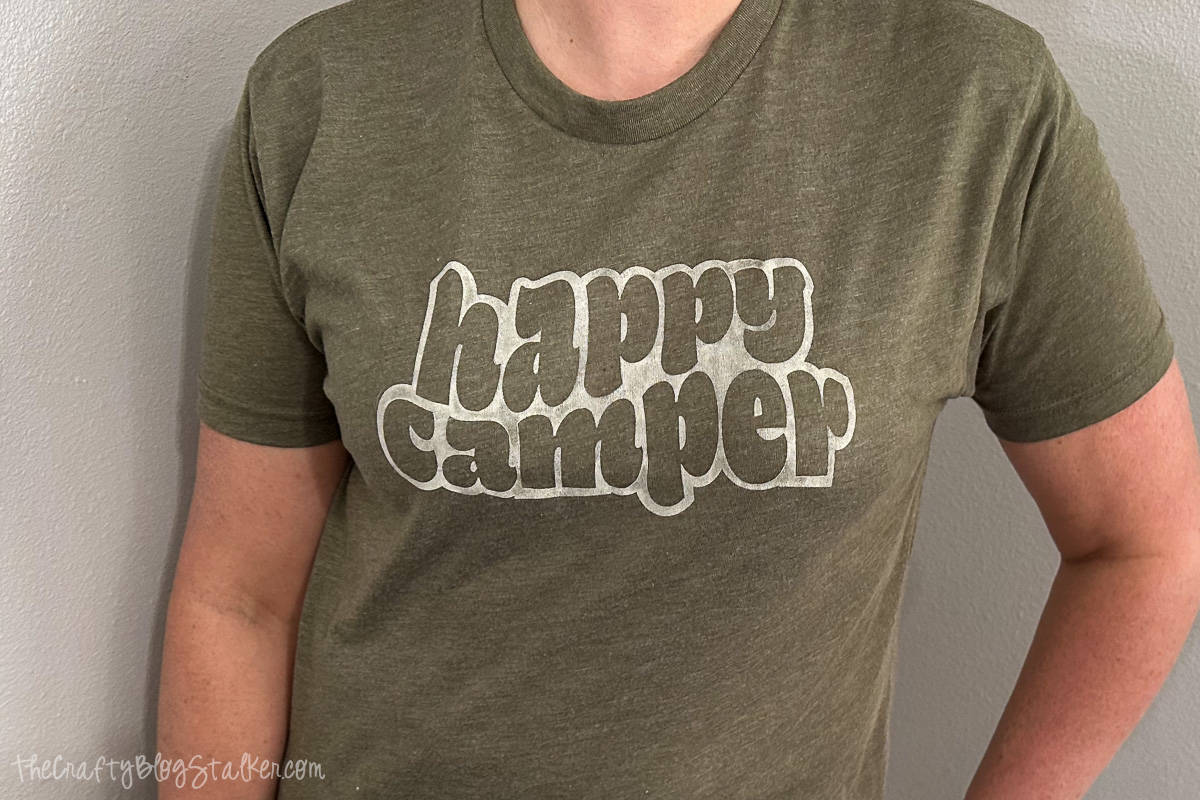
Well, you're in luck! In just six easy steps, you can create a stunning Happy Camper t-shirt that will turn heads and make you the envy of your friends.
With the help of your Cricut machine and freezer paper stenciling, you can personalize your t-shirts like a pro.
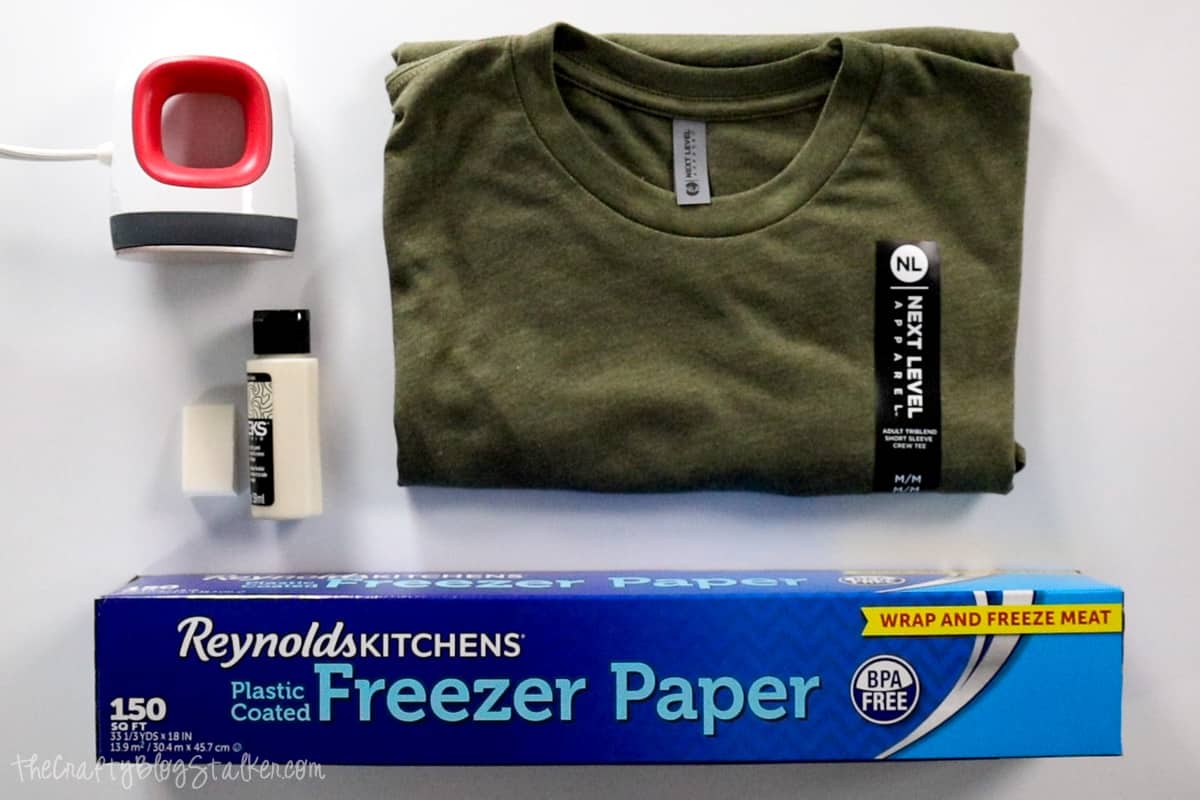
Our step-by-step instructions and expert tips will guide you through the process and make the freezer paper method a breeze. So grab your materials and let's get started!
Craft Video Tutorial:
Like videos? I have a video tutorial for you! Subscribe to my YouTube Channel so you don't miss out on any future video tutorials.
Creating your Stencil:
When it comes to designing your stencil, there are a few things to keep in mind. First, consider the size and complexity of your design.
If this is your first time using freezer paper stenciling, it may be best to start with a simple design.
However, if you're feeling confident and have some experience with stenciling, feel free to get creative with your design.
You can use your own designs, or use the same Happy Camper design that I used.

Or choose from any of my Free Svgs from my Shop!
Next, think about the placement of your design on the t-shirt. Do you want it front and center or off to the side? Take some time to visualize how the design will look on the finished product before proceeding.
Cricut Design Space:
I use Cricut Design Space and the next several steps will be based on that.
If you use Silhouette Studio or a different design software, your steps may be different.
The first step is to upload the file into your cutter software.
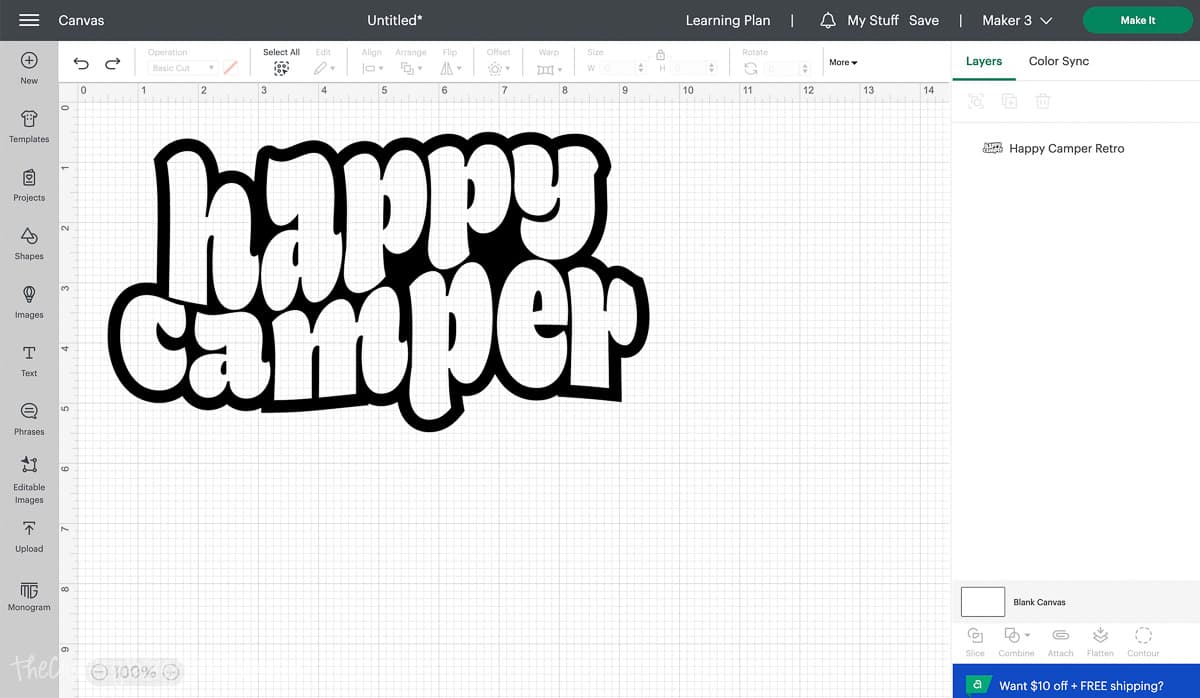
Size the design to fit on your T-shirt. It can be helpful to lay the shirt flat and measure the space with a ruler.
I wanted Happy Camper to be 9 inches wide.
Add a rectangle to the canvas and size it so it is 2 inches wider and 2 inches taller than the original design.
Center the design inside the rectangle.

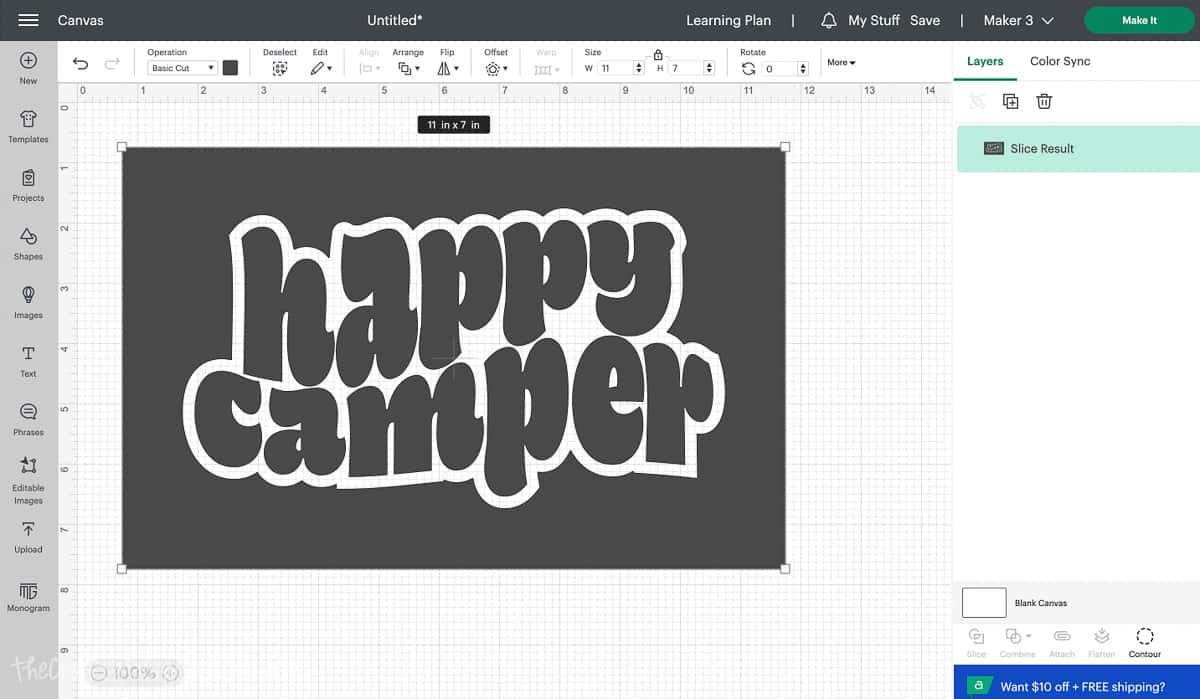
Highlight both layers and select Slice.
This will turn the two layers into three layers.
Delete the two layers of the design so you are left with the stencil.
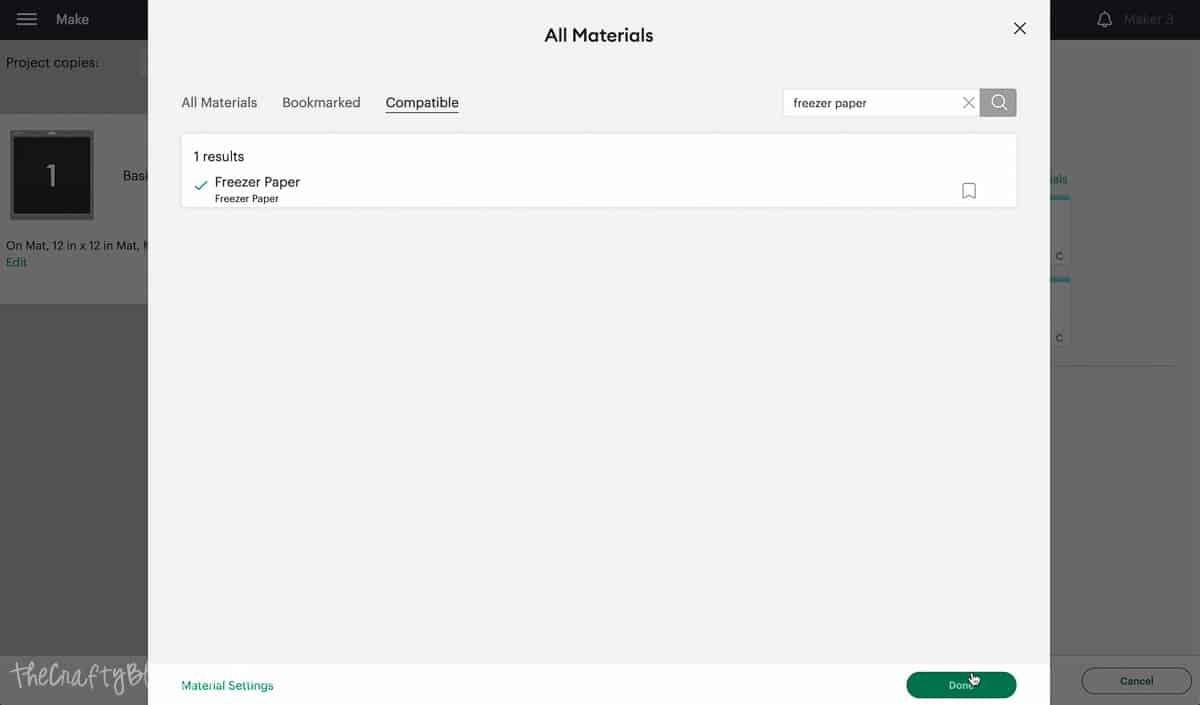
Select Make It to move on to the next step of the cutting process.
Under the materials list, select Freezer Paper.
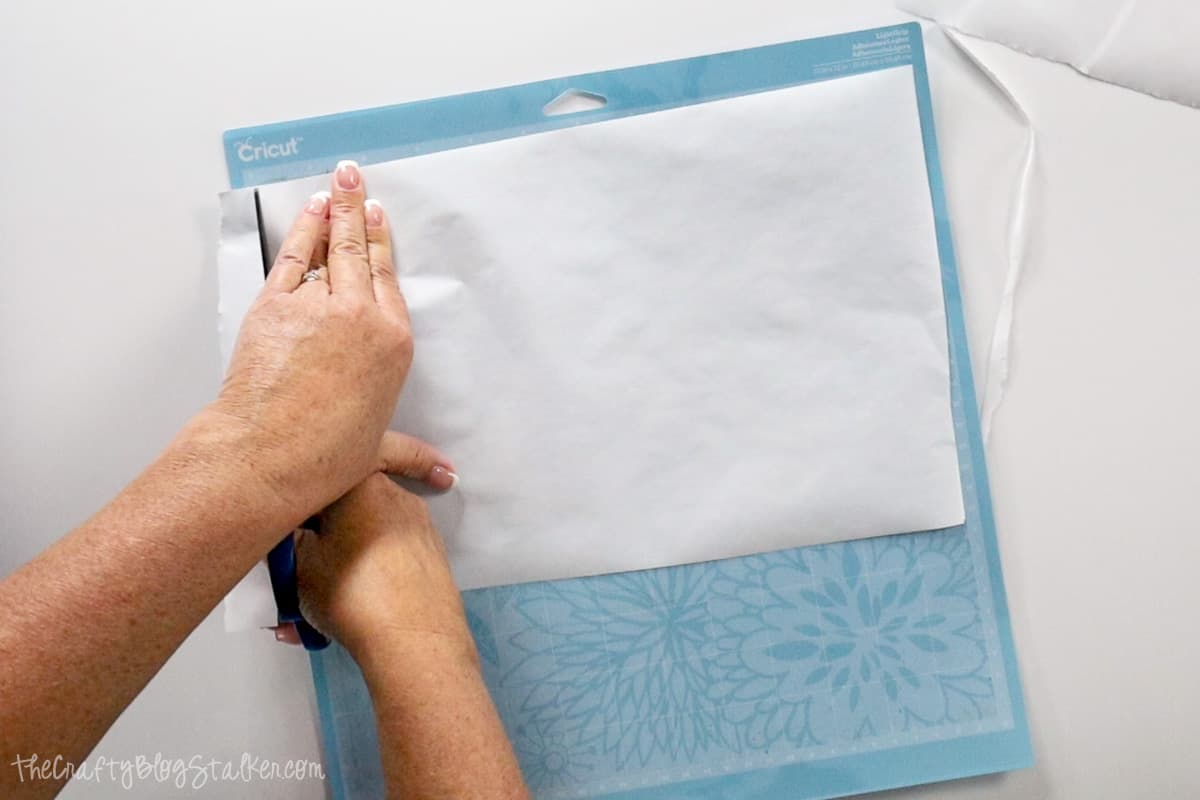
Tear off a piece of freezer paper from its roll.
I find the best way to cut the sheet to size, is by laying the paper on top of the LightGrip Cricut Mat with the protector still on. Then you can use those grid lines to cut the piece appropriately.
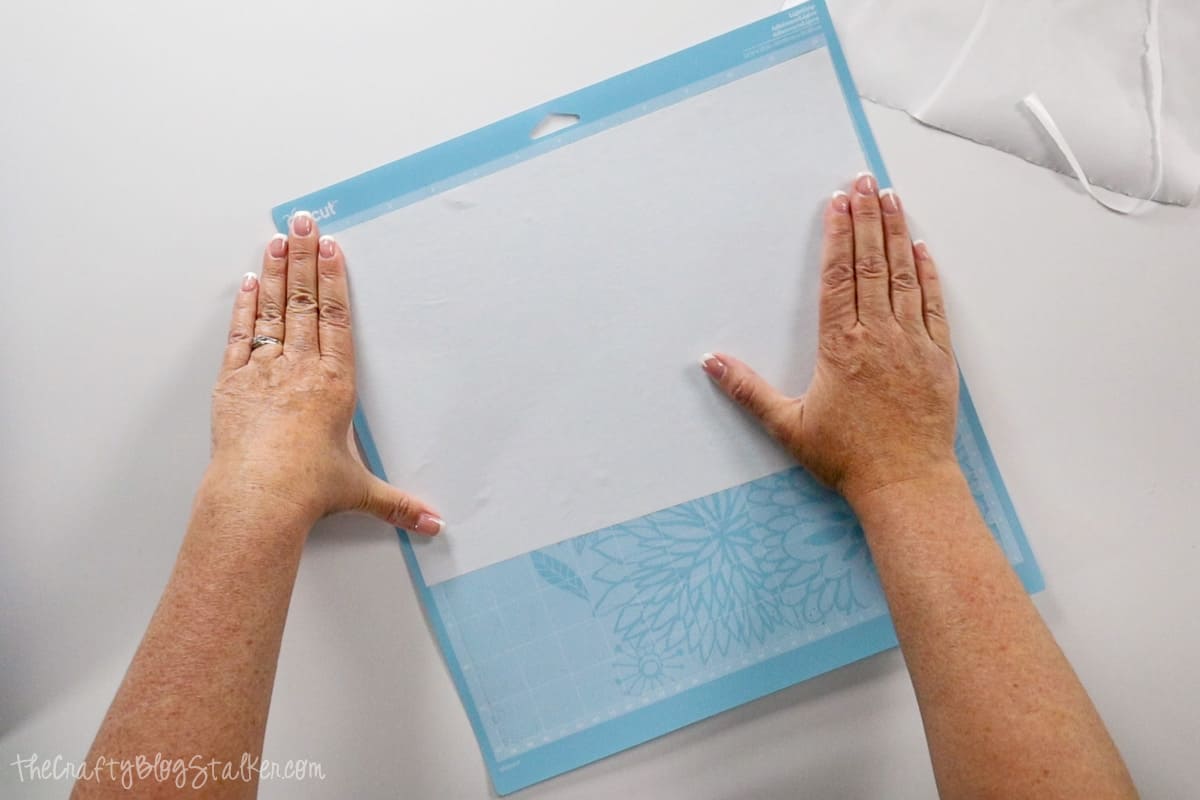
Freezer paper has two sides, a wax-coated side that is shiny, and a paper that is more matte side. The waxy side is what will adhere to the fabric to make our stencil.
The best part about freezer paper is that it won't leave any type of residue when it is removed!
Lay the sheet of Freezer paper onto the cut mat with the shiny side down.
You DO NOT need to mirror the design when using this technique.
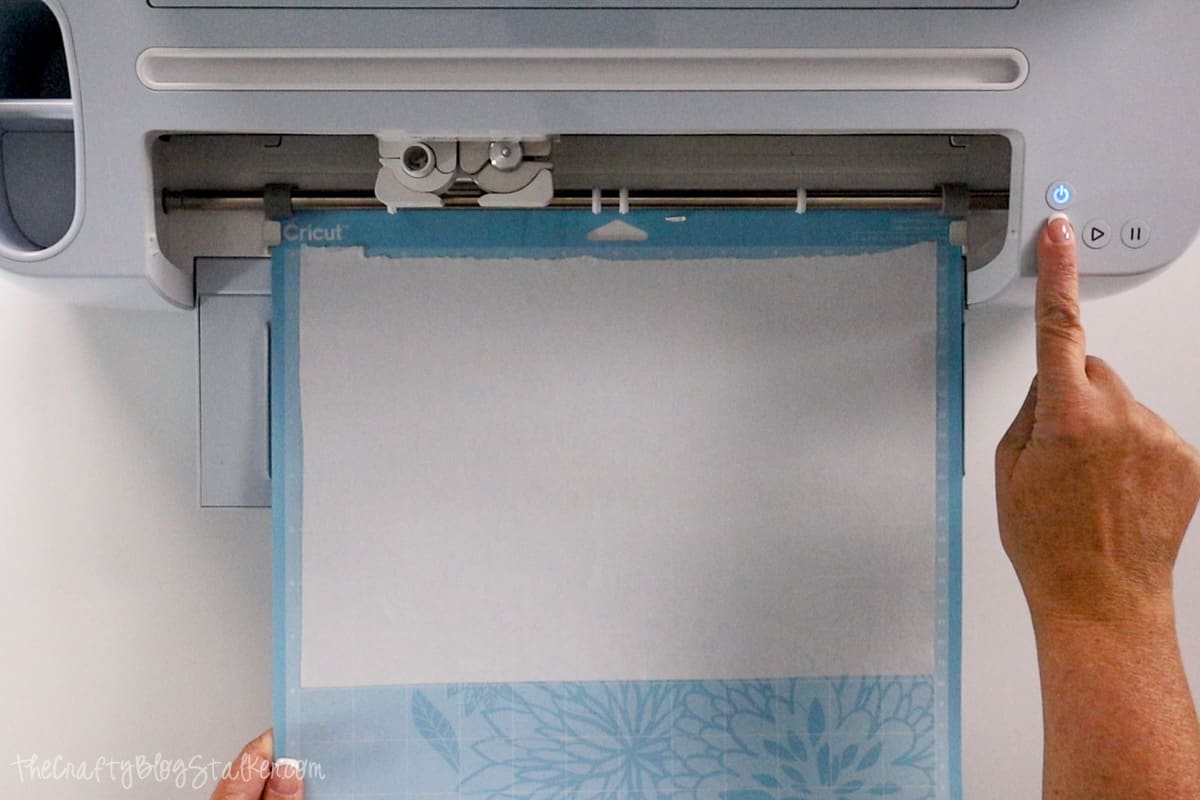
Follow the prompts in Cricut Design Space as to when to load your mat and begin cutting.
Weeding the Stencil:
Since freezer paper is thin and tends to roll up on itself, I have found the easiest way to weed is to keep the paper on the LightGrip Mat.
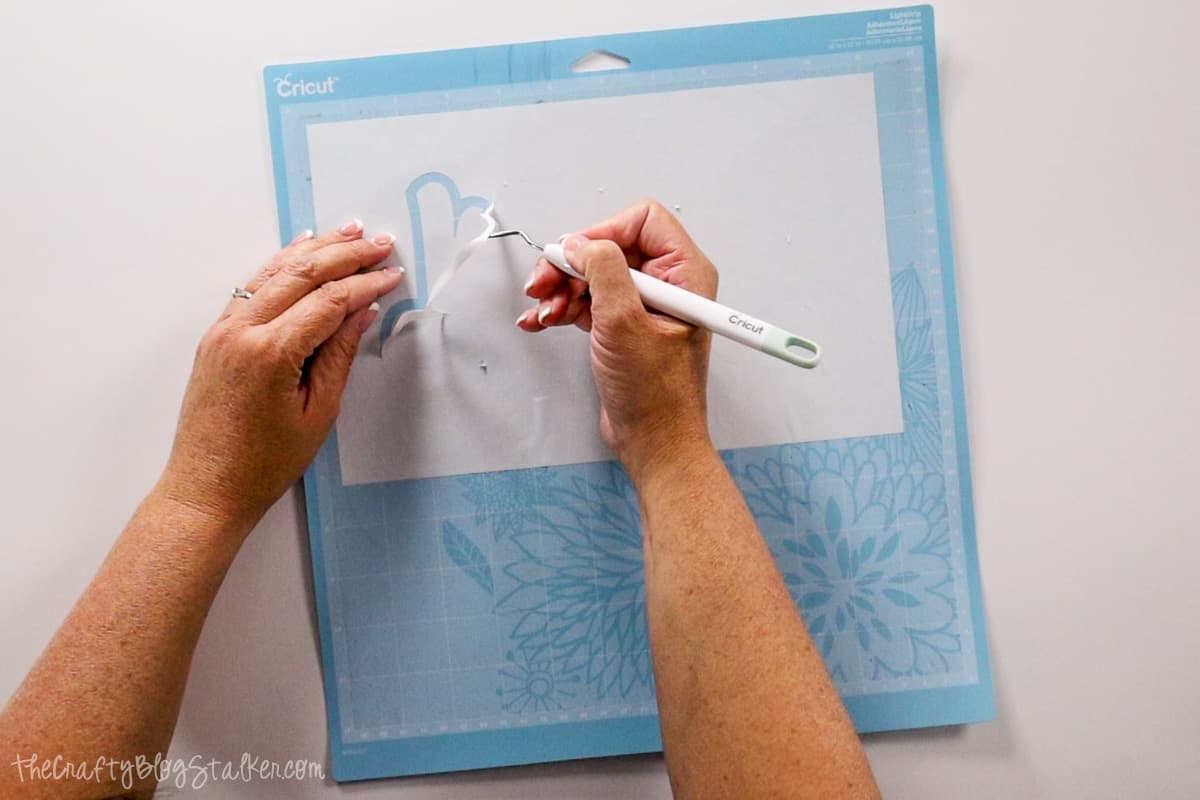
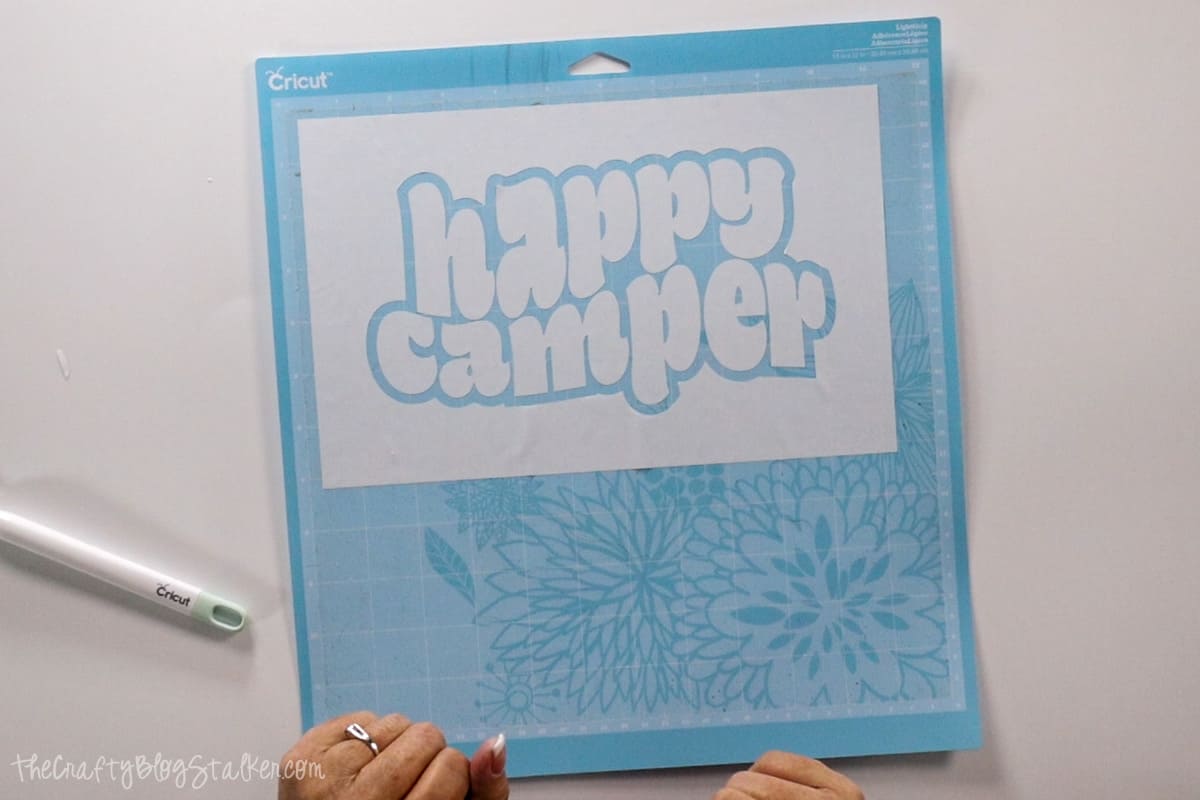
Using a weeding tool remove the positive parts of the design so only the negative is left.
Don't forget the small pieces inside the letters.
Applying Your Stencil:
Now that you have your stencil cut out and ready to go, it's time to apply it to your t-shirt.
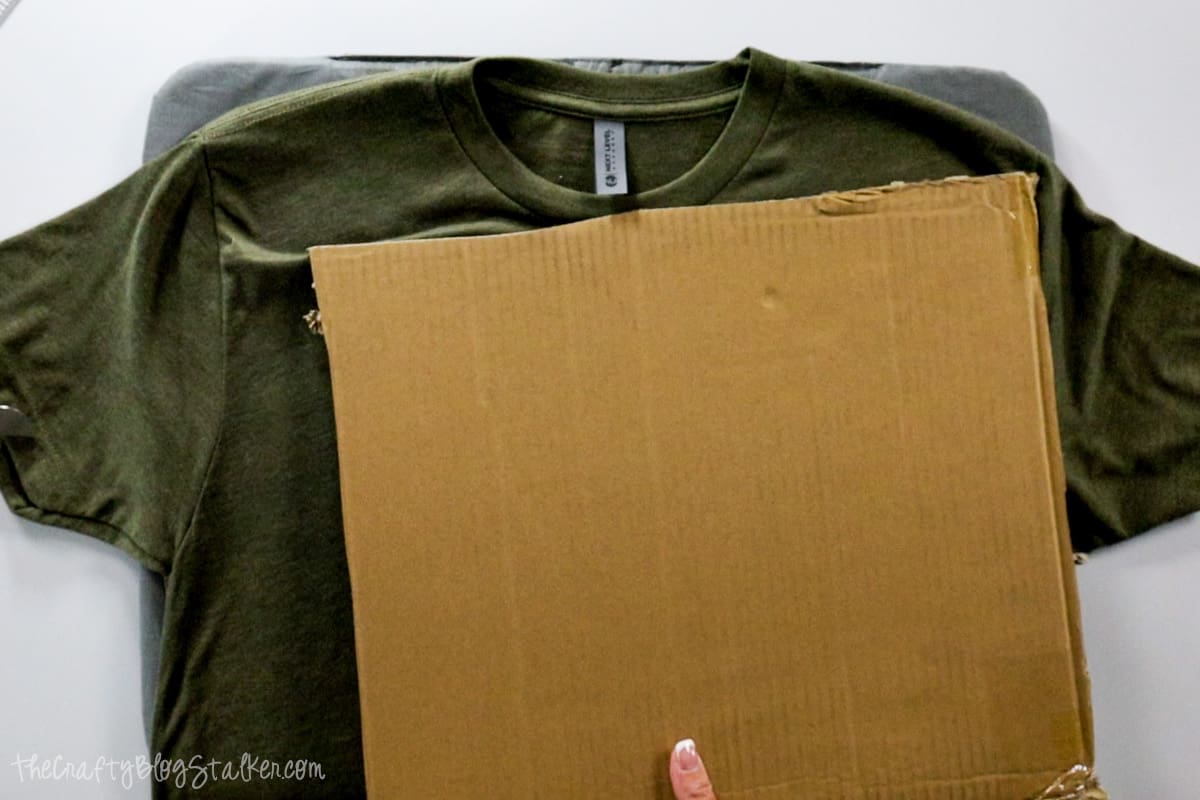
First, make sure your t-shirt is clean and dry. Lay it flat on top of the EasyPress Mat and place a piece of cardboard or thick paper inside to prevent any bleeding through to the other side.
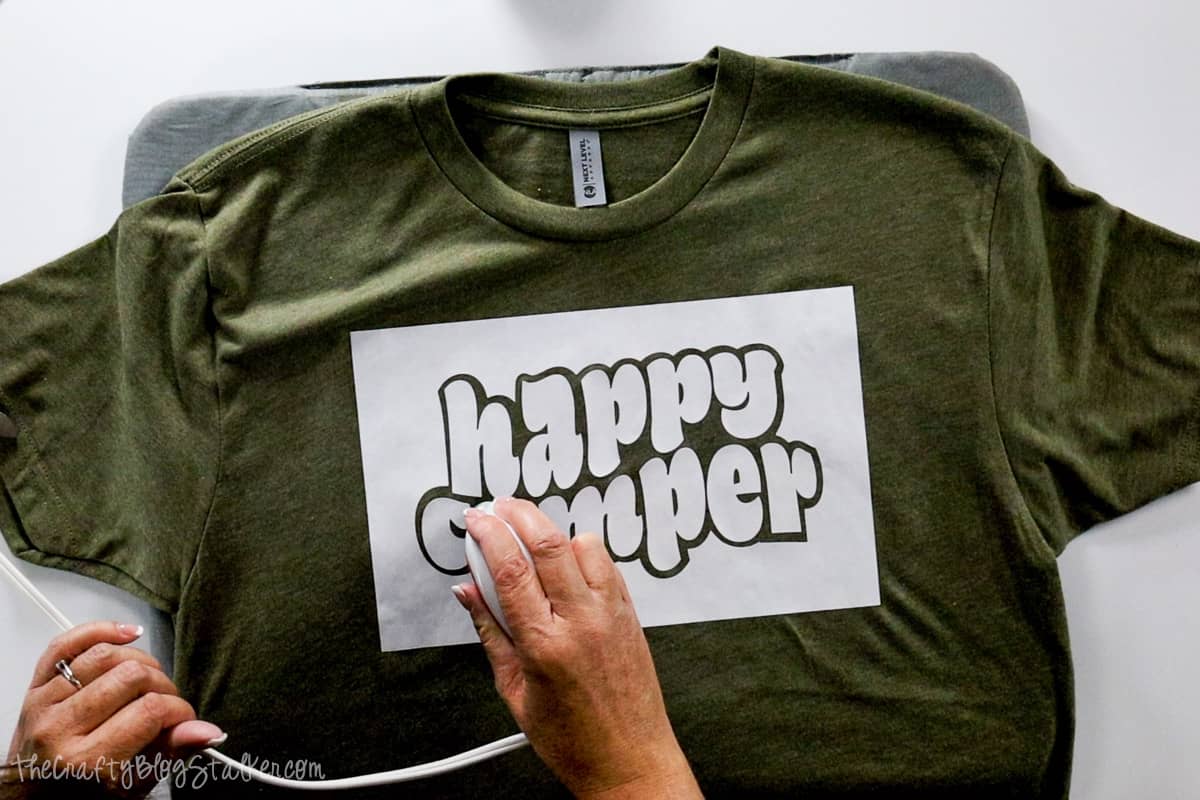
Carefully peel back the outer part of the stencil from the LightGrip Mat.
Position your stencil on the t-shirt where you want it to be. You can use a ruler or measuring tape to make sure it's centered and straight.
Once you've got it in the right spot, begin applying heat around the stencil with the Cricut EasyPress Mini on the highest heat setting.
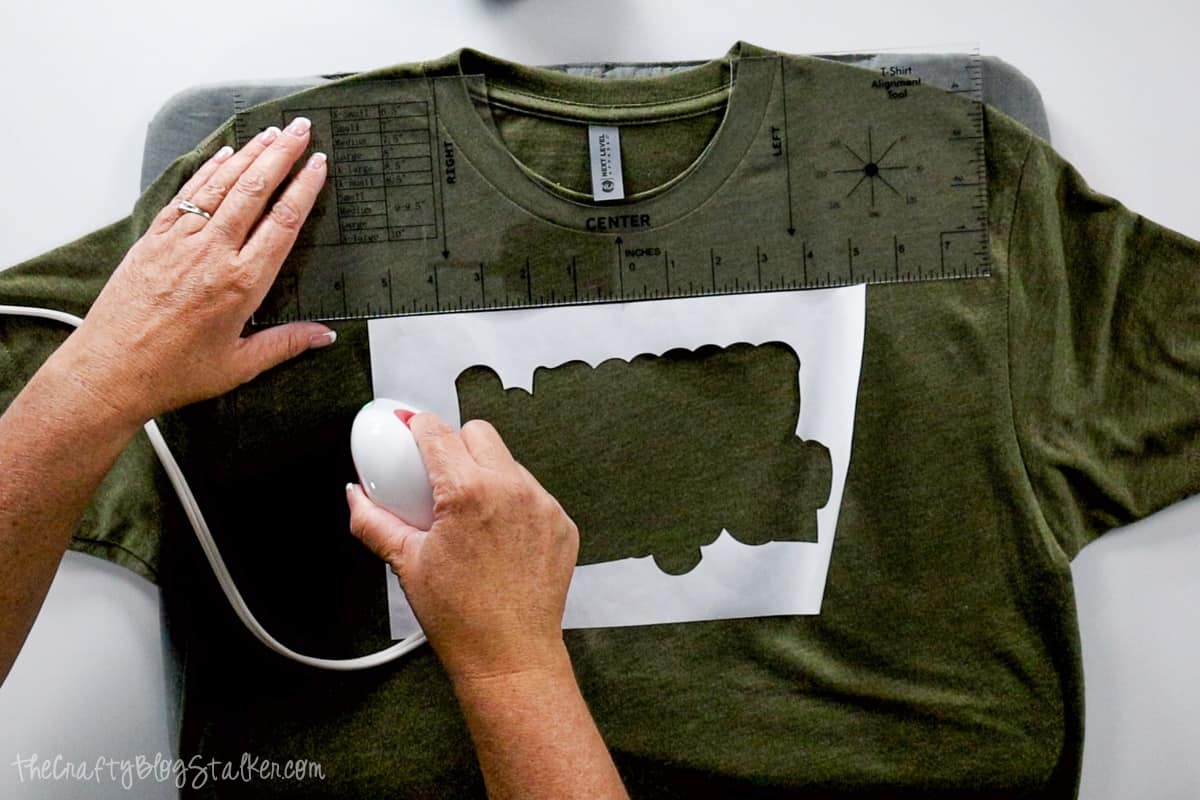
The wax on the back of the Freezer Paper will temporarily adhere to the fabric on the shirt.
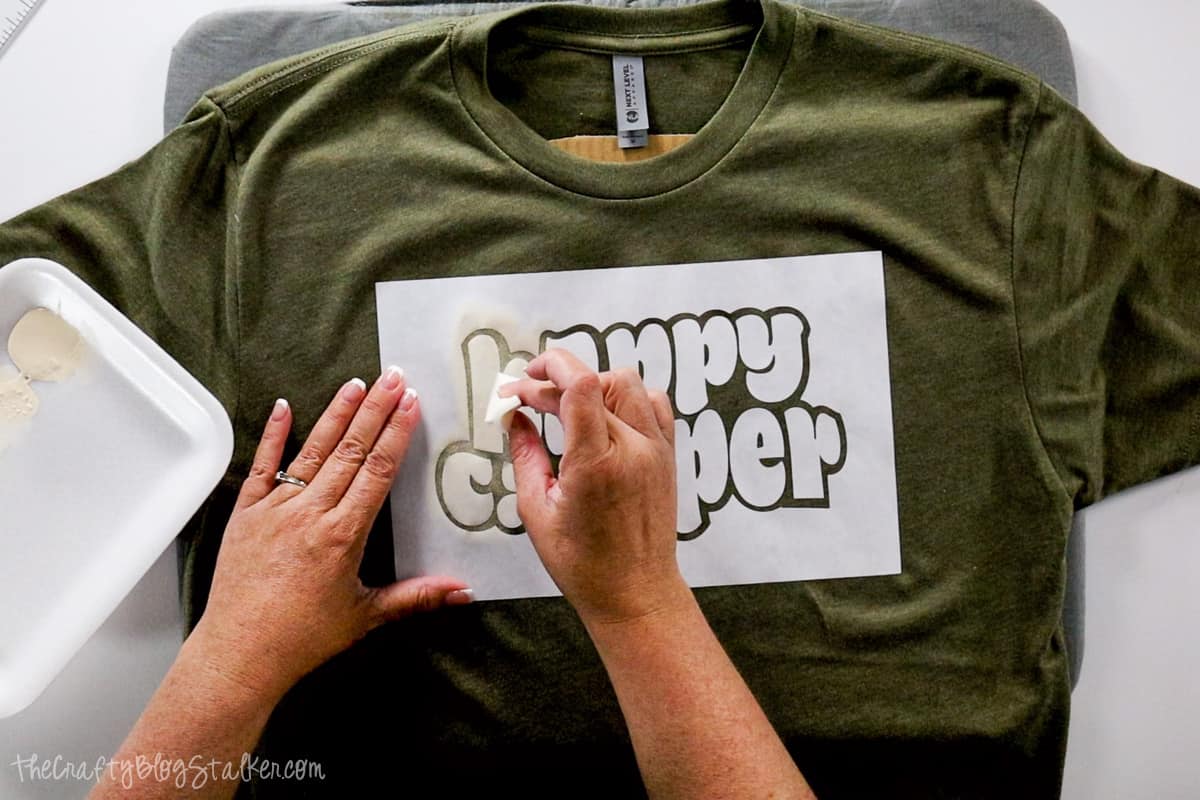
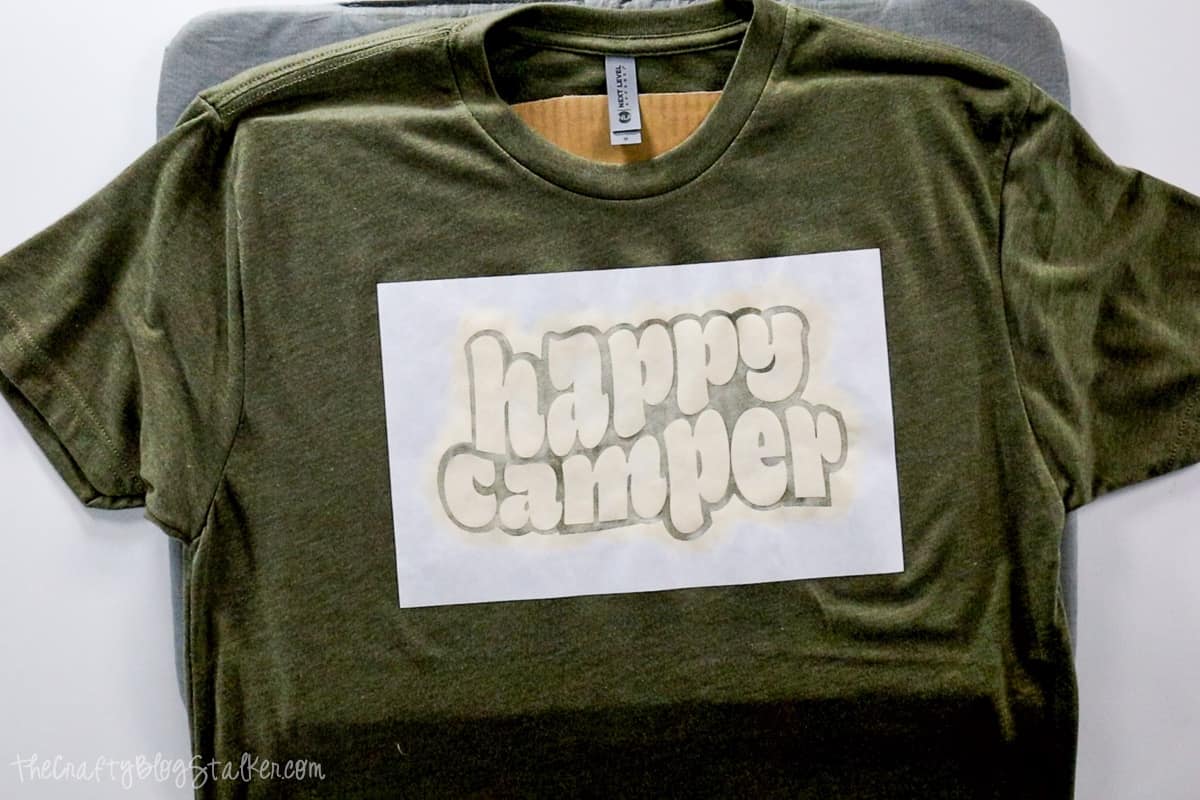
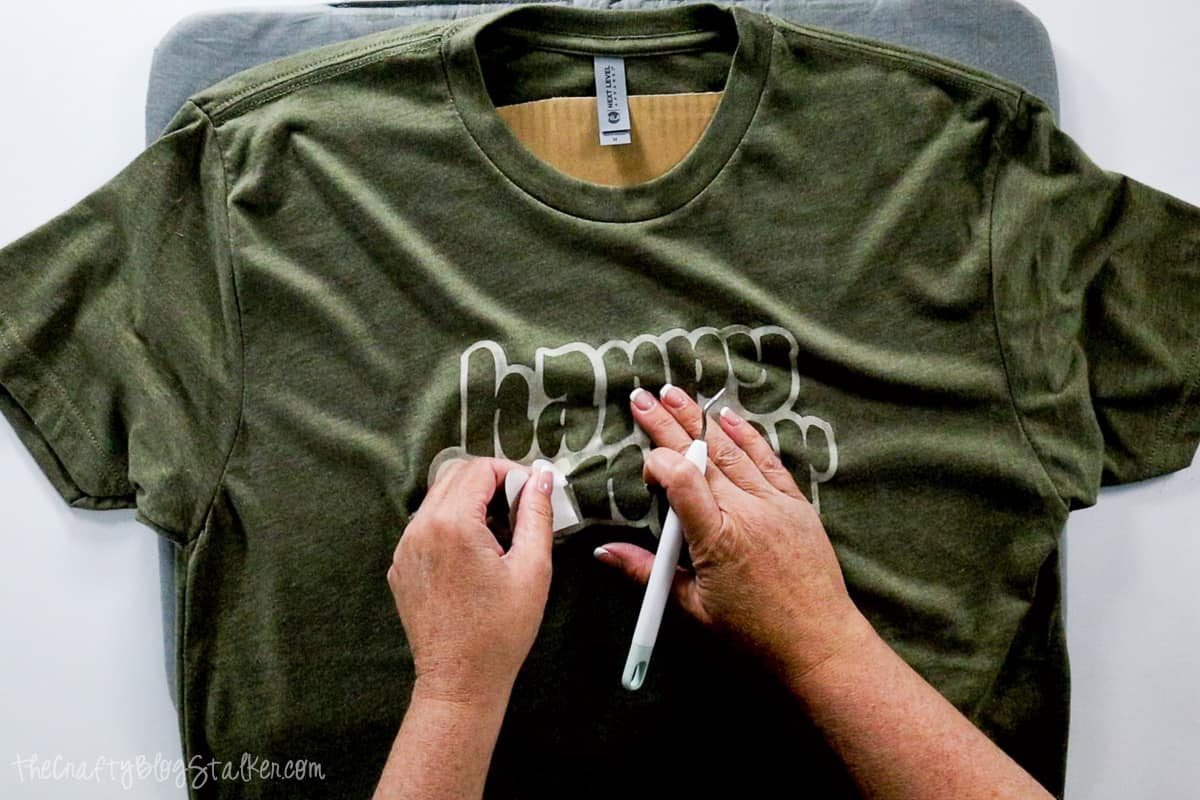
Remove the letters from the cutting mat and lay them out inside the stencil about where they will go. You don't want to adhere them to the shirt until you have the stencil pieces evenly spaced.
Apply heat to each piece to adhere it to the shirt.
Applying Paint:
Now it's time to start applying your paint. Make sure that the type of paint you are using is intended for fabric, and follow the instructions on the bottle for the best results.
Using a foam brush or stencil brush, dab the paint onto the stencil.
My favorite way to apply the paint is with a makeup sponge. They are inexpensive and work really well.
Be sure to use a light touch and only pick up a little bit of paint at a time. Work from the edges inward to prevent any bleeding under the stencil.
I let the first coat dry for about 15 minutes and then I applied a second coat.
After the second coat, I let the paint dry completely. Which was about an hour.
Remove the Freezer Paper Stencil:
Removing the freezer paper stencil is really quite easy, simply grab a corner and peel it up.
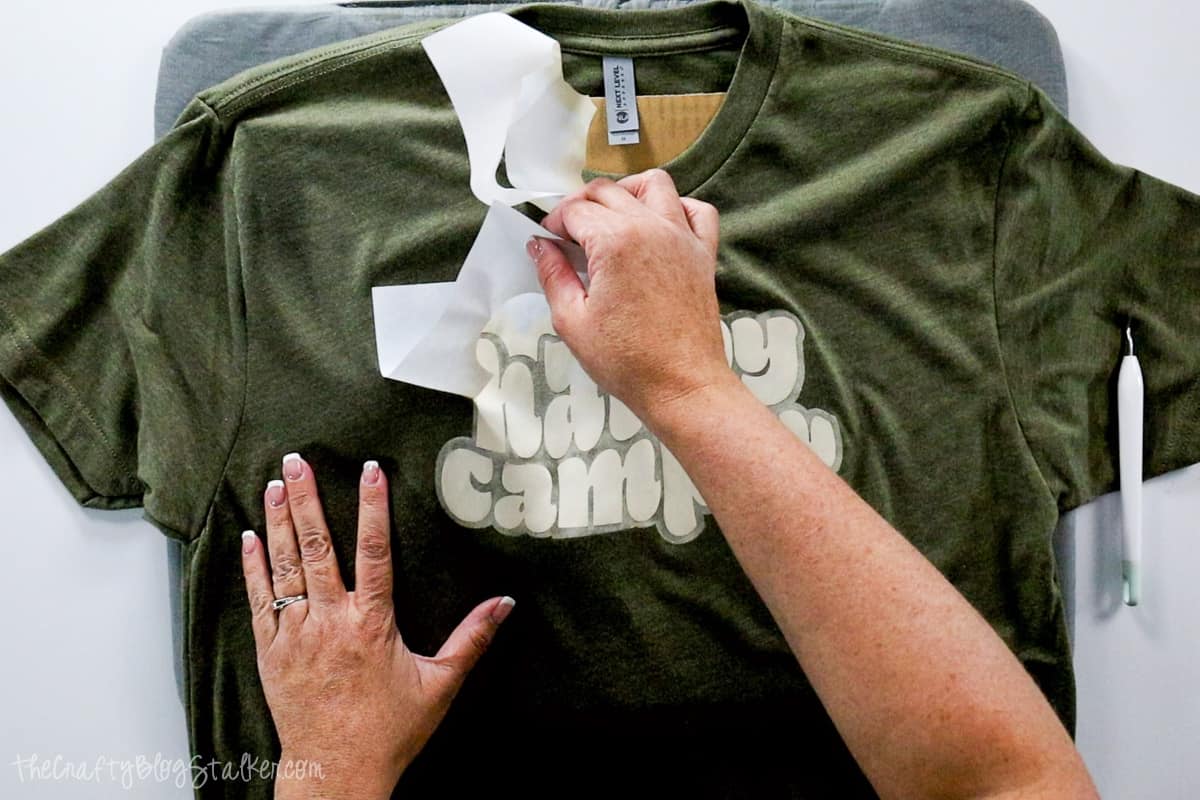
A weeding tool can be helpful in grabbing the paper but be careful not to pull threads or poke holes into the T-shirt.
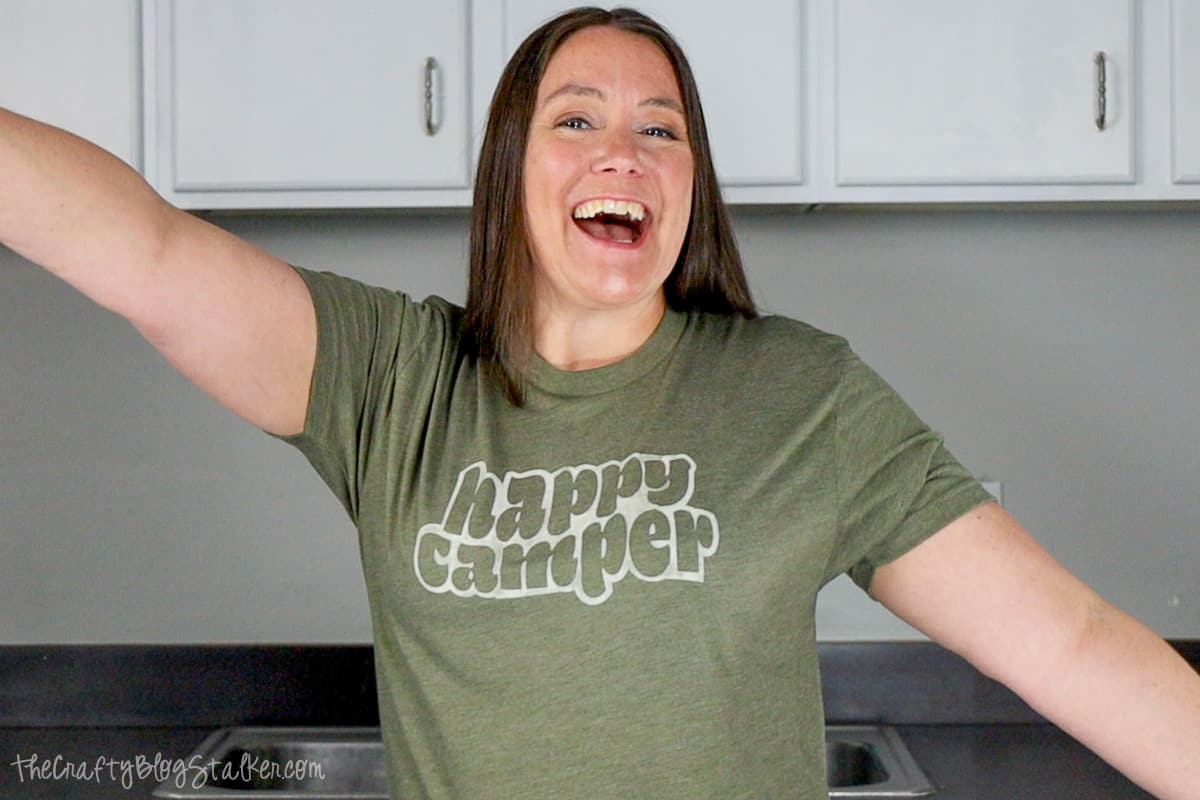
My new Happy Camper shirt turned out great!
Wash and Dry:
Follow the directions on your fabric paint as to how to wash and care for your new shirt.
Optional Finishing Touches:
Now you have created a unique and personalized Happy Camper t-shirt, and if you'd like, you can add some finishing touches to make it even more special.
Here are some ideas to take your design to the next level:
- Embellish with Rhinestones: Add some sparkle to your design by gluing rhinestones to create stars in the sky, or use them as fireflies in the woods. This will give your design a fun and playful feel.
- Puffy Paint: Use different colors of puffy paint to add special details to your design, such as creating shadows or highlights, or outlining the letters with a different color. You can also create a gradient effect by blending two or more colors together.
- Add a Pocket: If you have a plain t-shirt, you can add a pocket made from a contrasting fabric to add a pop of color and extra storage for small items.
- Sew on Patches: You can further customize your t-shirt by sewing on patches of your favorite camping destinations or adding camping-related phrases.
By taking the time to add extra details to your design, you'll have a truly one-of-a-kind Happy Camper t-shirt that will be perfect for your next adventure.
Creating a stunning Happy Camper t-shirt using Cricut and freezer paper stencil method is a fun and easy way to personalize your wardrobe or create unique handmade gifts.
We hope our expert tips and step-by-step tutorial have given you the confidence to try this DIY project on your own.
As you experiment with different designs and colors, remember that the possibilities are endless.
And don't forget to try a freezer stencil on your next project with a tote bag, tea towel, door mat, or pillow cover.
And who knows, with a little creativity, you may just discover a newfound passion for crafting. So grab your materials and let your imagination run wild!
More DIY Cricut Crafts
Crafting and DIY are what we are all about here at The Crafty Blog Stalker, and we have several tutorials to show you how!
Be sure to look around the blog for more fun Cricut Tutorials!
Frequently Asked Questions:
No, freezer paper stencils cannot be reused. They are a one-time use.
A good material for reusable stencils is a mylar sheet. You can make them adhesive by spraying the back with adhesive spray, although you are much more likely to get seepage underneath the stencil with this kind of material.
Acrylic paint and fabric paint are similar but not quite the same. Although you can add some Fabric Medium to acrylic paint to turn it into fabric paint.
Yes, you can cut any design out of freezer paper with an exacto knife or craft knife, and turn it into a stencil.
Freezer paper is a combination of both wax paper and parchment paper. For stencils, you need one side to be waxy so it will stick to the fabric, and the other side to be paper so it doesn't stick to the heat press.
Both wax paper and parchment paper are the same on both sides, so it is not an ideal material to use to make stencils.
Our Crafting Essentials List:
- The Cricut Cutting Machine is easily our favorite crafting tool. We use it in so many of our tutorials!
- These MakerX Crafting Tools are perfect for keeping in the craft room, and are always ready when you need them!
- This Fiskars Paper Trimmer is easy to use and cuts nicely without frayed edges.
- These Scotch Precision Scissors cut like a dream and you get multiple pairs in a pack!
Follow TCBS
The post How to Make a Freezer Paper Stencil with Cricut appeared first on The Crafty Blog Stalker.