How To Cut And Solder Copper Pipe Safely
If you are one of those people who ensure they always have the proper tool available at all times then you either have a copper pipe cutter or you need one. Either way, you know how to cut copper pipe.
Having one on hand is important if you plan on using copper pipes for plumbing or for DIY projects. If you aren’t sure where to start, we’ll teach you how to cut copper pipe and how to solder copper pipe.
These two things will ensure that you know how to use copper pipes both for plumbing and for unique projects. Copper pipe is a gorgeous resource and it’s not time to give up on it just yet. So let’s go!
What Is Copper Pipe?
So you may think you know what copper pipe is because, well it’s a pipe made of copper. Fairly self-explanatory. But the reason they are used isn’t just because they have an attractive industrial look to them.
Copper is the most reliable and most common material for plumbing aside from PVC. It is highly resistant to corrosion, making it perfect for use under the ground and with water. Not to mention, copper is very strong.
So it is easy to see why it is so popular and why it can be difficult to cut. You can’t just use any knife or any cutter to cut copper pipe. Even if you are strong enough, the blade could break or the pipe won’t be cut straight.
How To Cut And Solder Copper Pipe
Cutting copper pipes can be difficult or it can be easy. When it comes to cutting copper pipe, although you can use a hacksaw, using a pipe cutter is recommended. You can purchase one online, which we will talk about later.
Step 1: Position Copper Pipe
After you have your copper pipe marked at the correct spot, it’s time to get to cutting it. You want to line the blade up to the mark you’ve made on the copper pipe after measuring it. Just line it up at this point.
Step 2: Rotate Pipe To Score
Most cutters are made the same so all you need to do at this point is score the pipe. Do this by tightening the cutter and fairly lightly rotating the pipe. You don’t want to cut it just yet, just score it to help with accuracy.
Step 3: Twist
After you have scored the pipe, make sure the score looks straight. Then you can add the pipe back to the cutter and clamp down before twisting it harder this time until it cuts itself in half with the cutter.
Step 4: Shave Burrs
Most copper pipe cutters come with shaving tools that are made especially for this purpose. But if yours doesn’t have one, you can purchase one separately or use a blade of some sort to get rid of the inner burrs.
Step 5: Sand
Now it’s time to start sanding. Use around 120-grit sandpaper to sand the inside and outside of the pipe. This is an important step so don’t skip it unless you want to ensure that the soldering doesn’t work well.
Step 6: Brush Pipe
Before soldering, you should use a metal soldering brush for your pipes to brush the inside of them. This is primarily to clean them and get them ready for soldering. It also needs to be done, so don’t skip it.
Step 7: Apply Flux
Using a small paintbrush, apply water-soluble flux that si lead-free to the pipe. This is used to prime the copper pipe and prevent the oxidation process from taking place. Solder won’t stick to oxidized copper.
Step 8: Start Applying Solder
It is very important to stay very safe during this part. Wear gloves to prevent burns as you get the solder to stick to the pipe. Heat the end first to give it a grip to hold onto while you heat the rest of the solder.
Step 9: Heat Solder
Now it’s time to finish up by rotating the copper pipe while you also hold the solder around it and use the blow torch. Yes, it is extremely helpful to get someone to lend a literal hand to help you with this step.
You can do it on your own by rotating the solder while the copper pipe is clamped but this won’t be as smooth or as safe as you’ll need to rotate the torch a little as well. So if someone is willing to help, accept it.
Best Copper Pipe Cutters
While you can use almost any copper pipe cutter for your job, we have handpicked a few options that will do you well. All of them are highly affordable and highly effective. What more could you want in a product?
Ridgid Model 35S Tube Cutter
This option by the reliable Ridgid is a wonderful choice. It is fairly easy to hold and has over 1,000 reviews on Amazon. This tool has six individual bearings for a smoother cut and a contoured frame to make it easy to align the blade.
It can cut pipes that are up to 1-3/8-inch. Any of Ridgid’s models work well, but this one is a good choice though it is the most expensive option. If you can afford it, you can’t go wrong with this high-end choice.
Lenox Tools Cutter
The Lenox tool cutter works amazingly well for the price but you will have to get separate tools for each size of pipe. You can get by with getting a larger tool for a smaller pipe but you need to get larger ones for larger pipes.
Most tools are all-in-one but what this one lacks in versatility it makes up for in price. You can actually afford to create a “set” of pipe cutters with Lenox which can be more fun than actually have a multi-tool.
Ridgid Ratchet Cutter
This tool by Ridgid is very popular because it comes with a ratchet handle. Most pipe cutters have an awkward way to hold them in your palm but this ergonomic choice is comfortable and very natural for a tool.
Because of the shape, it works just like a ratchet wrench for pipes that are already installed. It is difficult to cut a pipe with a standard pipe cutter that is installed because there isn’t much momentum.
Sharkbite Cutter
If you are more comfortable with clippers than with a cutting tool made for pipes then this option by Sharkbite will do the job for you. It is simple, very affordable, and looks like your other tools, going well with any set.
While this tool is made for plastic pipes, it is a great one to add to the collection if you are here looking for standard pipe cutting tools instead of copper pipe cutting tools. Sometimes it’s nice to have both.
Ridgid Classic Tube Cutter
Pricewise and performance-wise, this may be the best option overall. Ridgid is a wonderful brand and any of their products will work well, but none of them are as highly exalted as the classic Model 103.
This thing is predictable, effective, and strong. It has the fewest bad reviews as well because most people couldn’t find a problem with it if they tried. It works well and is really a steal at this point with that price tag.
Copper Pipe Projects To Inspire You
Copper pipes are far too beautiful to only be used for plumbing. Plumbing pipes are usually hidden away where no one gets to enjoy them. That’s why we should use them for more of our projects. That’s what these people did.
Copper iPad Stand
This copper iPad stand can be used for books and other tablets too. It was originally made so that you can use recipes on the iPad without getting it messy or having to lay it down where it is difficult to see.
If you learn how to cut copper pipe and how to solder copper pipe then you can make this stand. It is very easy and is the perfect beginner project for people who want to learn how to work with copper pipes.
Copper Paper Towel Holder
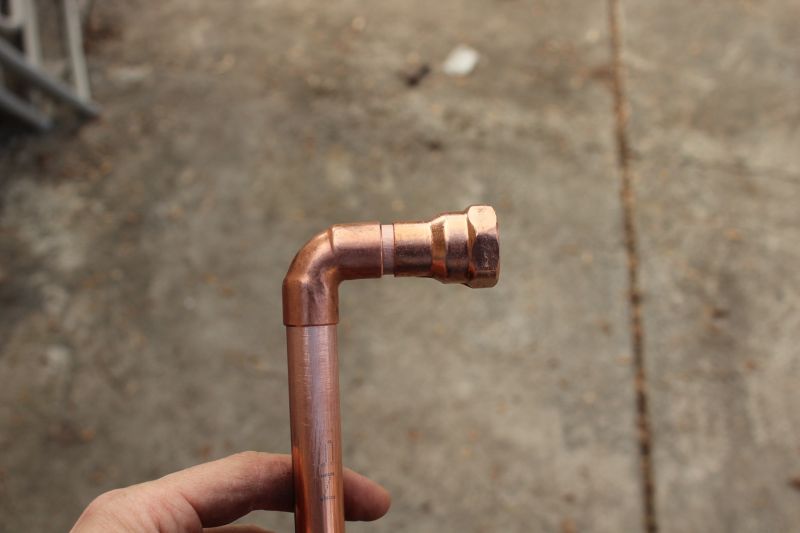
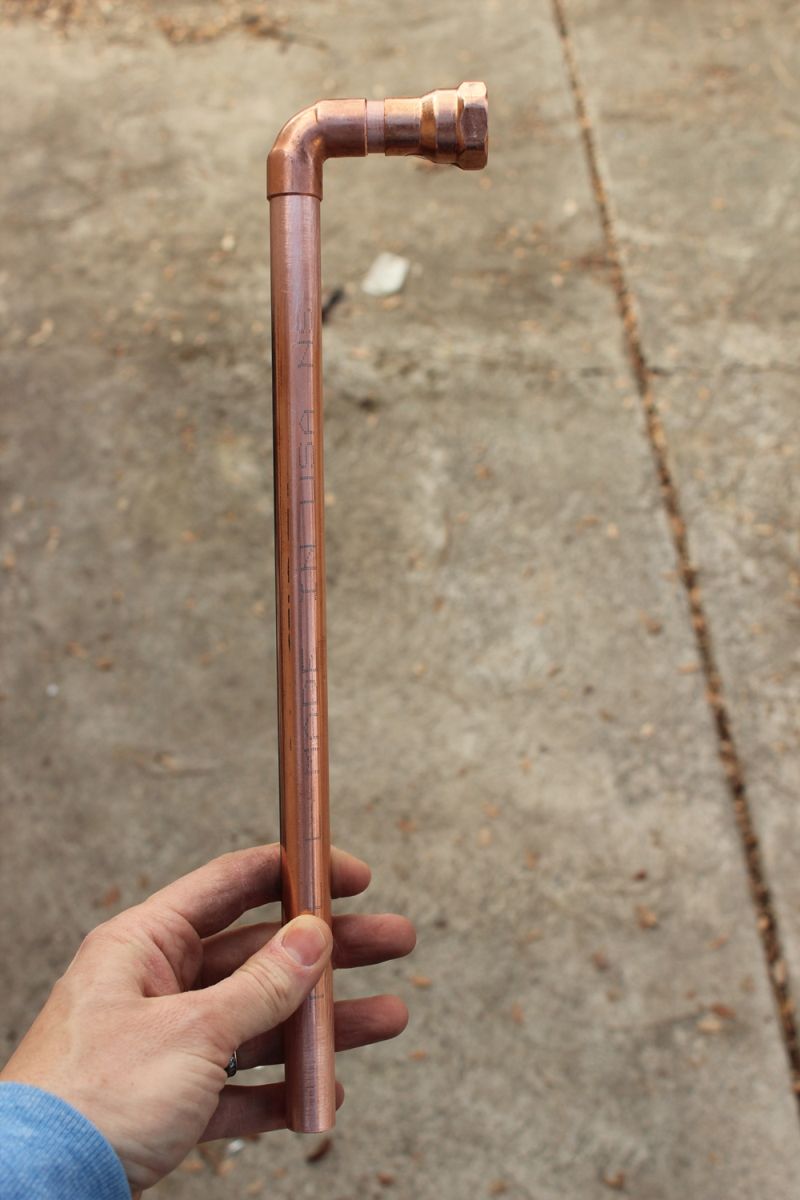
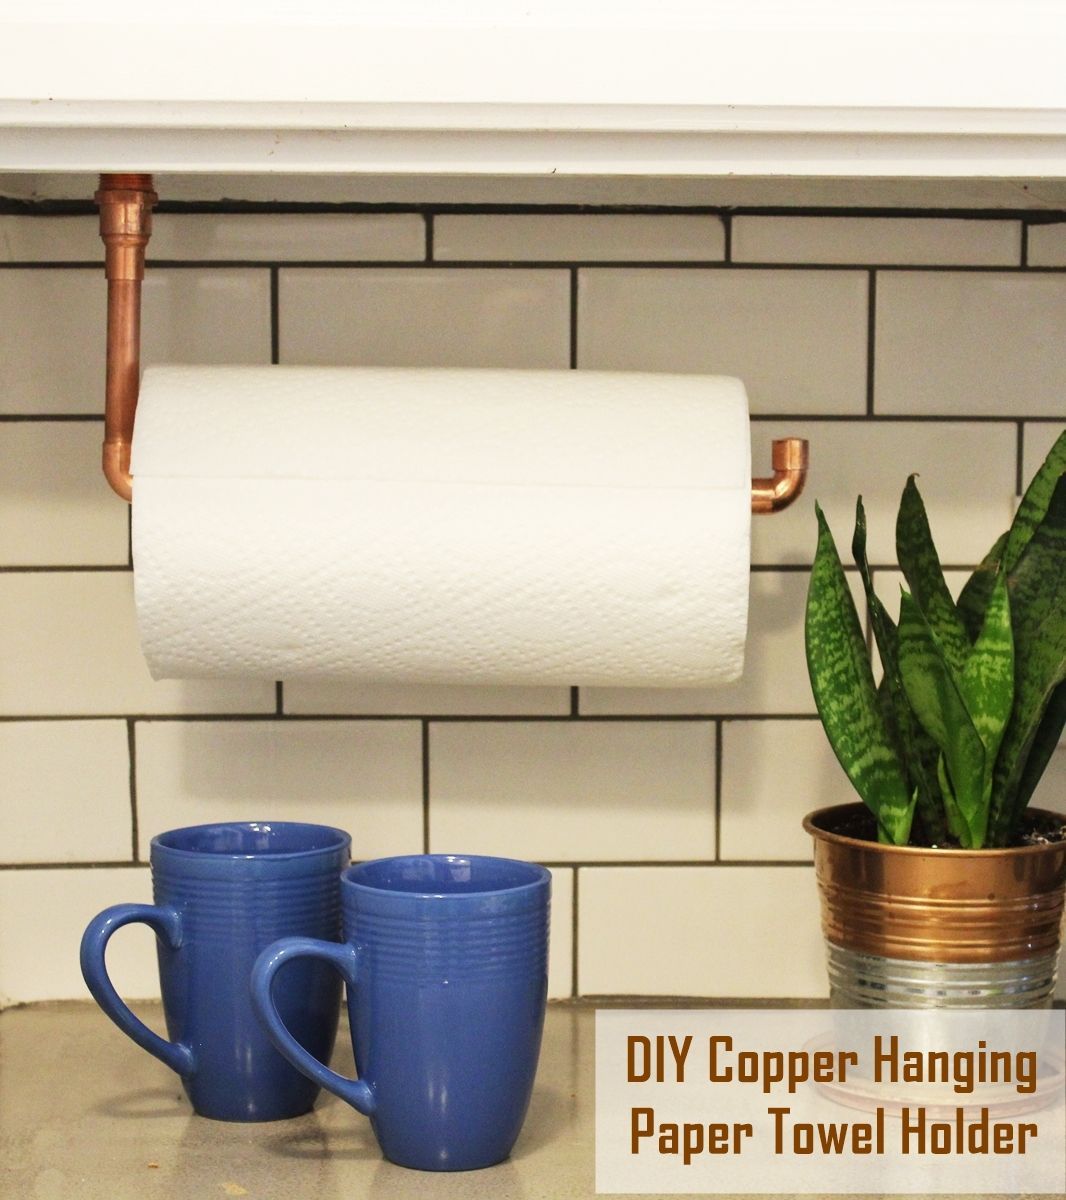
This under-cabinet paper towel holder is just the beginning of what you can make with copper pipe. Because it is in the kitchen, there are so many decor items that will match it that you can buy at the store.
But what is truly amazing about this project is that you can use a shorter pipe and put it on the wall for a toilet paper holder. Or make it longer and put it on the wall for a towel holder in the bathroom!
Copper Jewelry Tree
Here is another project that you can probably find multiple uses for. This jewelry tree may be designed for jewelry but any creative mind can come up with a dozen uses for it using the tutorial for the stand.
Finding uses for copper pipes is fun and exciting. It is a warm metal similar to bronze or brass that can add warmth to any room while adding a balance of coolness because it’s a metal. This balance is hard to resist.
The post How To Cut And Solder Copper Pipe Safely appeared first on Home Decorating Trends - Homedit.


